

Accurate load weighing adjustment is an important part of elevator commissioning. For an OTIS elevator, an inaccurate load weighing system can affect elevator starting and stopping performance and may influence overall ride comfort.
The load weighing system provides load feedback to the OTIS VVVF (OVF) drive, allowing the drive system to determine an appropriate torque output according to the elevator load condition. For this reason, accurate adjustment of the load weighing system is an important part of achieving good starting and stopping performance.
This article introduces the basic requirements and adjustment procedure for the OTIS LWB-II load weighing system, including parameter adjustment, offset calibration, and gain calibration.
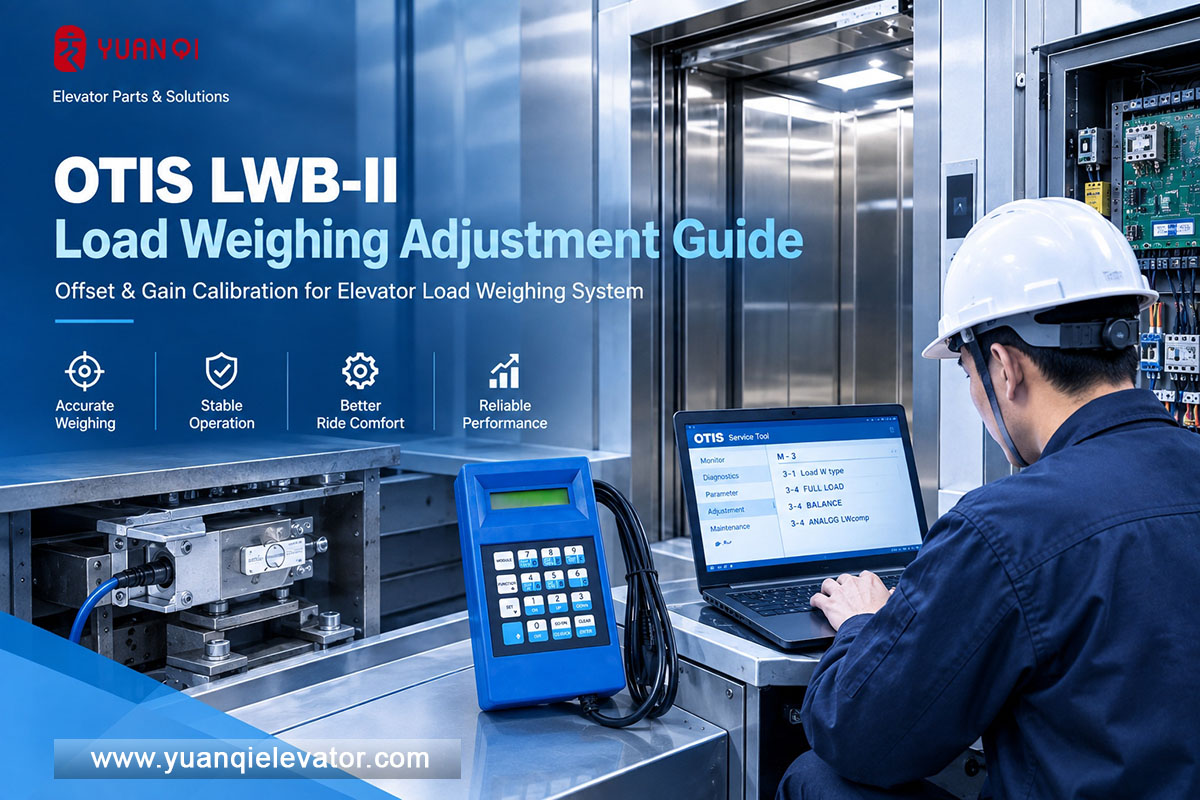
1. Basic Conditions Before LWB-II Adjustment
Before beginning the adjustment, the following conditions should be completed:
The final elevator car decoration should be completed.
The car air-conditioning installation should be completed.
Standard test weights corresponding to the elevator’s rated load should be prepared.
An OTIS Service Tool should be available.
The elevator should operate normally in inspection mode without faults.
Normal operation should be available without emergency stops or unrelated current- or voltage-related faults.
The elevator stopping test should meet the design requirements of the elevator.
The elevator balance coefficient adjustment should already be completed.
The original procedure also notes that system fault records related to starting drift or stopping drift may appear during this process. These records are expected to disappear after the load weighing adjustment is completed.
2. Service Tool Connection and Menu Access
For elevator systems using CAN communication, the Service Tool can be connected to several control boards, including:
MCB-III
TCBC
GECB
GDBC
SPB for machine-roomless elevator systems
The Service Tool operation varies according to the control board being connected.
When connected to the MCB-III board
Use:
MODE → 2 → 4 → GO ON
When connected to the TCB board
Use:
MODE → 1 → 2 → 3 → GO ON
When connected to the GECB board
Use:
MODE → 7 → 4 → GO ON
The following parameter adjustment example is based on the TCB board.
3. Three Main Steps of LWB-II Adjustment
The LWB-II adjustment procedure consists of three main steps:
Step 1 — Parameter Adjustment
Adjust the load weighing parameters according to the elevator specifications through the Parameter Adjustment interface of the Service Tool.
Step 2 — Offset Calibration
Calibrate the compensation value under the empty-car condition through Offset Calibration.
Step 3 — Gain Calibration
Calibrate the gain value under the rated-load condition through Gain Calibration.
The overall process can therefore be summarized as:
Parameter Adjustment → Offset Calibration → Gain Calibration
4. Parameter Adjustment
Using the TCB board as an example, perform the following settings through the OTIS Service Tool.
Load Weighing Type
Go to:
M-3-1 → GO ON
Set:
Load W type = 2: analog LW
This selects the analog load-weighing type.
Full Load
Go to:
M-3-4 → GO ON
Set:
FULL LOAD [kg]
The value should correspond to the elevator’s rated load.
Total Number of Pads
Set:
TOTAL # of PADS
The number refers to the total number of:
Rubber buffer pads
Load sensors
under the elevator car.
Number of Load Sensors
Set:
# of LOAD SENSORS
This corresponds to the number of load sensors installed.
Balance Coefficient
Set:
BALANCE [%]
According to the supplied procedure, this parameter corresponds to the balance coefficient parameter in the inverter:
M-2-3-1
Analog Load Weighing Compensation
Go to:
ANALOG LWcomp
Set:
2500
This is the specified analog load-weighing compensation multiplier in the supplied adjustment procedure.
5. Offset Calibration
The Offset Calibration is performed when the elevator car is empty.
Before calibration:
Complete the final car decoration.
Complete the car air-conditioning installation.
Remove all unnecessary items from the car roof and inside the car.
Make sure the elevator car is empty.
Then operate the Service Tool:
M → 4 → 3 → 1 → ENTER
The system will perform the offset calibration.
Successful Calibration
When the calibration is completed successfully, the Service Tool displays:
“done”
Failed Calibration
If the calibration fails, enter the fault history:
M → 2 → 2
Check the recorded fault and address the relevant cause.
After the condition has been restored, repeat:
M → 4 → 3 → 1 → ENTER
Continue the process until the Service Tool displays:
“done”
6. Gain Calibration
The Gain Calibration is performed with the elevator car loaded with the rated-load test weights.
Step 1: Load the Test Weights
Place test weights corresponding to the elevator’s rated load inside the elevator car.
Step 2: Enter Gain Calibration
Operate the Service Tool:
M → 4 → 3 → 2 → ENTER
Then select:
Gain Calibration → ENTER
Step 3: Enter the Load Weight
When the Load in Car screen appears, enter the actual weight of the test weights loaded into the car.
Press:
ENTER
The system will then perform the gain calibration.
Successful Calibration
When calibration is completed successfully, the Service Tool displays:
“done”
Failed Calibration
If the calibration fails, enter the fault history:
M → 2 → 2
Check the recorded fault and restore the relevant condition.
Then repeat the Gain Calibration procedure:
M → 4 → 3 → 2 → ENTER
Continue until the Service Tool displays:
“done”
7. LWB-II Load Weighing Adjustment Completed
After the three stages have been completed successfully—
Parameter Adjustment → Offset Calibration → Gain Calibration
—the LWB-II load weighing adjustment procedure is complete.
For accurate adjustment, the supplied procedure emphasizes that the final car decoration and air-conditioning installation should be completed, the elevator should be operating normally, and the balance coefficient should already have been adjusted.
The Service Tool menu paths and parameter values described above are based on the supplied LWB-II adjustment procedure. Actual elevator configurations should be handled according to the applicable system configuration and service documentation.
Technical Note: This article is intended as a technical reference for elevator commissioning and maintenance personnel. Load weighing adjustment should be performed by qualified elevator professionals under the applicable site safety procedures.
WhatsApp: 8618192988423
E-mail: yqwebsite@eastelevator.cn
Post time: Sep-30-2026